About Me

My photo
Lapsed anthropologist-turned-burlesque performer and post-modern punk housewife/homesteader living in the beautiful Pacific Northwest with a hunky husband, gorgeous daughter, adorable corgi, fluffy rabbit, and three clucking fabulous chickens.
Showing posts with label sewing. Show all posts

Monday, May 12, 2014

Batman Dress

When I was pregnant, and we weren't telling anyone the sex of the baby, a dear friend made this amazing Batman layette set for us. Juniper has finally grown into it, and Mother's Day seemed the perfect opportunity to take it out for a whirl!


It's so gorgeous. Danielle hand-embroidered the bonnet with the Bat-signal. There are even little booties that say "BAM!" and "POW!" The bloomers have ruffles on the back.

She's pretty much going to be living in this until she grows out of it.

Sunday, August 21, 2011

Day 21; Pretty Pattern

 Okay, asking me to pick just one pretty pattern is a form of psychological torture to which I refuse to submit. I did narrow it down from the dozens of pictures I took, though.

First, two examples of the Atlas(or adliss or however you like to spell it, there doesn't seem to be a consensus) fabric I brought back from Da Bazaar(The Big Bazaar) in Urumqi.

 This is traditional atlas, woven on a narrow loom. This example is shot through with beautiful metallic thread.

 This is an example of a modern interpretation on the traditional pattern, printed on a silky synthetic fabric. It drapes beautifully.

The second pattern I chose is my own! This is the fabric I designed on Spoonflower a few years ago(and yes, it is available for purchase there).


 I cut my fat quarters up into triangles for a quilting workshop I hosted earlier this year.


Only one person came, so I have a lot left over.

Maybe I'll make a mini quilt!

Sunday, May 22, 2011

Something Wicked...

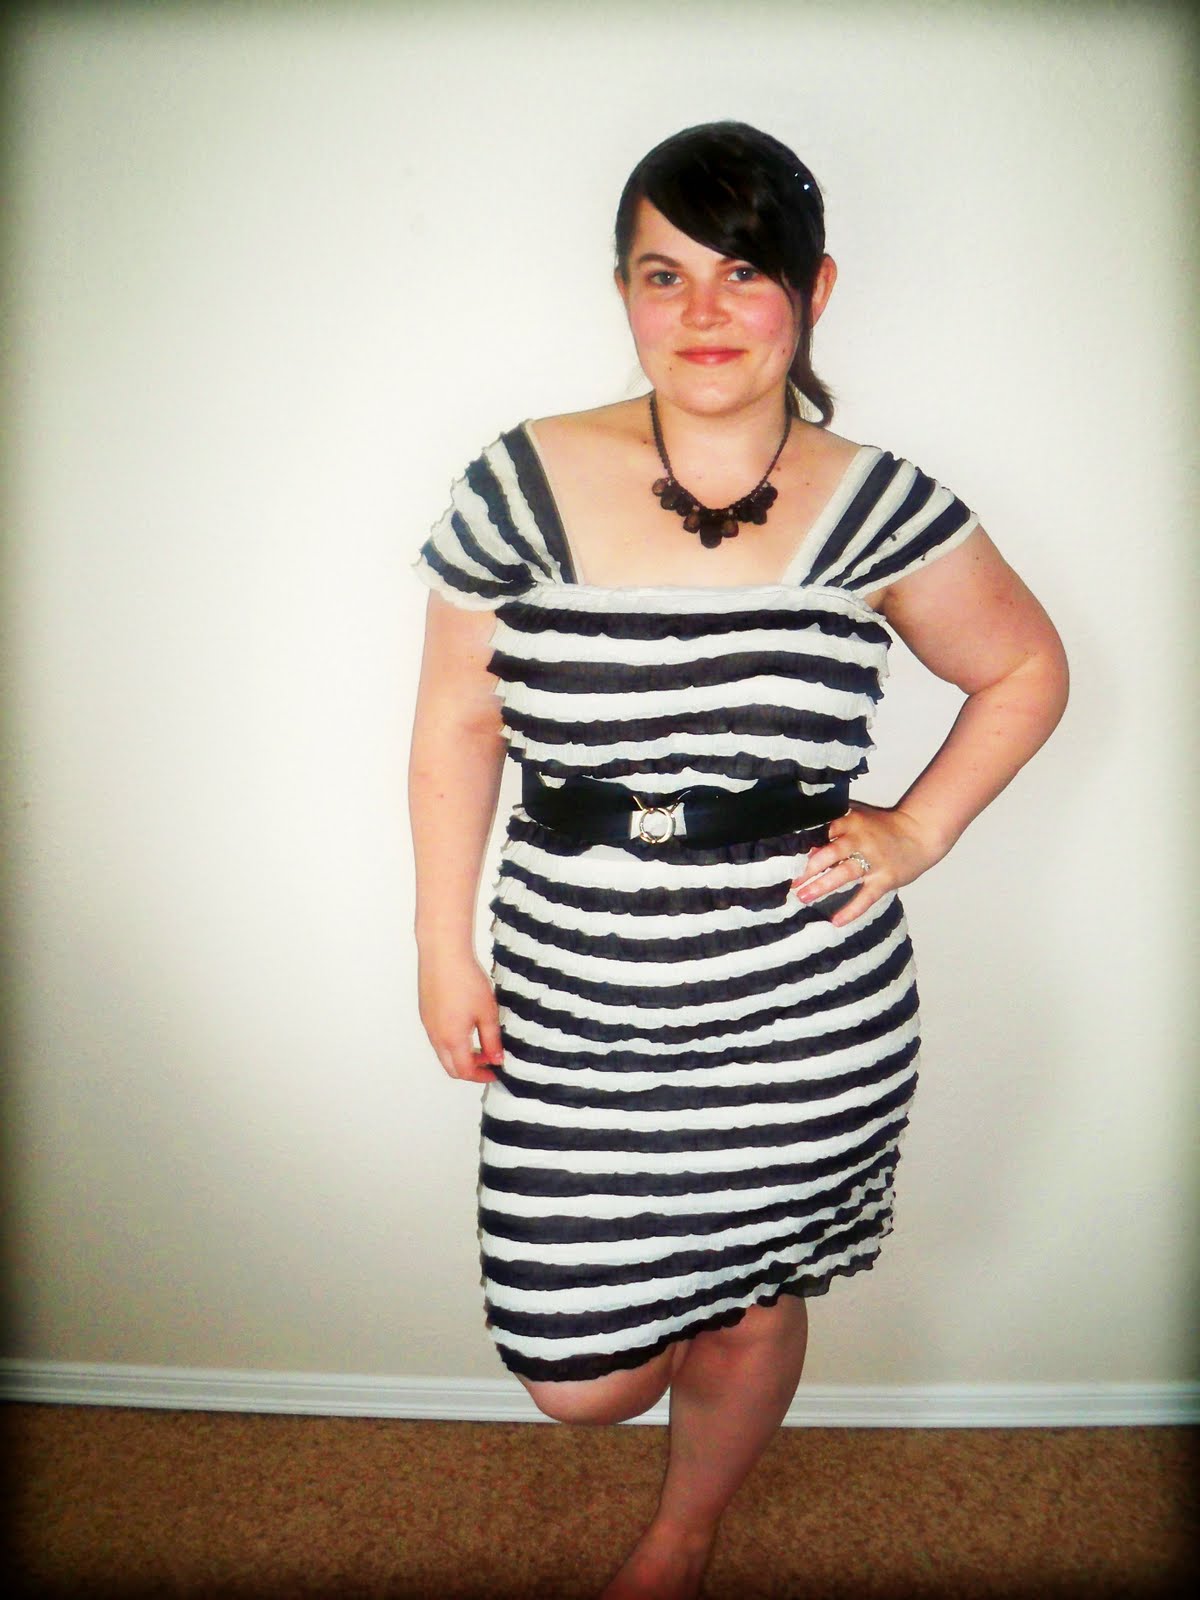
For our anniversary, Mr. Bear surprised me by getting us tickets to see Wicked. I was completely thrilled! The show was last night and it only occurred to me earlier in the week to make something special to wear to the show(even though we got tickets in March...I'm a procrastinator). I decided to take the black and white striped ruffle fabric I wore for the PnP Black and White Show in which I was the Cheshire Cat, and make it into a more flattering tube dress.

Unflattering, too-big-on-top tube dress.

Yeah, it was an awesome show. Bet you wish you had gone now, don't you?

I used my handy dandy new dressform to pin the fabric in a more flattering way and added some sleeves.

Why yes, I only have a limited digital camera, ugly carpet, and never know what to do with my arms. Why ever do you ask?

I then used this tutorial to make a Billy Cardi in Elphaba Green. It's a really fabulous tutorial. I had never thought of using freezer paper to make patterns, but it's completely brilliant. Her entire blog is completely brilliant. There's, like, twelve things she has tutorials for that are now on my list.


And now I have this awesome reusable pattern. Score!


 I also made a belt out of some 2" black elastic and a buckle, to either belt the dress or the cardigan, depending on how I'm wearing it. It can be worn open. thusly:


Or demurely closed for a sort of retro swing coat vibe, like so:

I feel the red shoes really tie the whole look together. Ruby slippers, green Elphaba cardigan, and a dress striped like Nessarose's stockings.

I didn't make my front pieces as wide as she did in the tutorial, so my collar didn't do the cool drape-y triangle thing, but I think it still works. Also, my decorative stitches ended up tearing out a chunk of the collar, so my inside became the outside and there were no decorative stitches. I also had extra fabric at the tops of the sleeves, so each sleeve cap has four inverted box pleats, which I think looks pretty cute. That's called making it work.

Not bad for a first attempt at pattern drafting. I'll definitely be making more of the cardigans. They're comfy and cute.

The show was completely amazing. If you ever get the chance to see Wicked, definitely do so! The sets, the costumes, the music, it is all incredible. Mr. Bear enjoyed it very much, which pleased me greatly. Plus, look where our seats in the balcony put us:


That's right, dead center! It was the best date night ever. 


Pin It

Tuesday, May 10, 2011

What to do with those pesky scraps? A Tutorial.

If you're anything like me, after a burlesque show your craftroom is strewn with scraps from your many many costumes. Now, you could just throw all those scraps away, or you could make them into awesome souveniers of the show!
Our most recent show was the Hot Mess show, in which I was variously a Twisted Sister megafan, Snooki from the Jersey Shore, a contestant on Rock of Love, and a protester outside an abortion clinic. The scraps I had left over from said show were all of the dayglo green/zebra/leopard variety, and to me scream "Zombie Prom hair accessory", so here we go:


Supplies: A cutting mat, a rotary cutter or scissors, a ruler or straight-edge, some patterned felt, a pile of scrap fabric, bobby pins, needle, thread. You could use ribbon, buttons, just about any kind of scrap embellishment you wanted on these, they really lend themselves to adaptation.


First, lay out your scrap fabric. It doesn't have to be squared at this point.


Cut away and part you don't want to use. Pictures, patterns, seams, etc.


You should now have some oddly shapes bits of fabric.


Line up the top rough edges of your pieces.


Lay down your ruler/straight edge/ etc. and more or less line it up with your top edge. Square off the top edge with your cutter. If you don't have a fancy ruler or rotary cutter, you can absolutely just mark your cutting lines in pencil or chalk and cut them with regular scissors. No need to be fancy, unless that's what you're going for!


Using the top edge as a guide, cut your fabric into even strips. I cut mine 1" wide.


Square off the bottom edge and remove the excess from both top and bottom.


You can square the sides too, if you want, but they're not as important.


You should now have a pile of strips.


For contrast I took the patterned felt I had left over from making my pasties. What are pasties? Why, these are:


Just a taste of how awesomely tacky my costumes were!


Turn your felt face down, square the edges like we did with the fabric, and cut into even strips smaller than your fabric strips. I cut these in 1/2" strips. Once again, feel free to just draw your lines on and cut with scissors if you like.


Rotate your ruler or straight edge and cut the strips widthwise into small strips. Mine are 2" long.


You should now have piles that look somewhat like this.


For the following steps, bust out that needle and thread.


Take one of your strips and determine how big you want your bow to be. This one will be about 2 1/2". Overlap the ends of your strip and thread your needle.


Do a running basting stitch up and then back down through the middle.


Gather your strip into a bow.


Take a piece of felt and wrap around the middle, covering your stitches.


Slightly overlap the felt in the back and cut off any excess. Stitch the felt in place, being careful not to push the needle all the way through to the front. Don't break your thread when you are through.


Now we're going to attach the bobby pin. Mine is brown, I couldn't find black. You don't have to attach it to a bobby pin, either. You can put the bows on barrettes, or pin backs. Have fun with it!


Place the bobby pin in the center back of the bow, and whipstitch around it several times to lock it in place. When it is secure, make a knot and push the needle under the felt, pulling the thread through. Cut off the thread close to the edge of the felt so that it is hidden.


Your bow should now look a bit like this.


And the front.


Use it to pin your hair back and no one will know you haven't brushed it today! Genius!


Realize you have lots of different fabric scraps left over and get to experimenting with different pattern combinations and sizes. Give away to other performers and momentos of the show, or to friends who couldn't make it. Contemplate opening an Etsy shop to sell the excess because you now have enough supplies to make hundreds of these things. Enjoy!


Pin It

Tuesday, April 26, 2011

Sewing Workshop

I ended up having only one student, so it was more a private lesson than a workshop. I took some 8x8 inch squares of fabric that I designed myself(which you may remember from this post) and cut them into triangles.


Emily and I picked out eight triangles and practice hand sewing straight seams to piece them together into four small squares.


Ponyo was, as ever, ensuring our safety.


...or just mucking about.
Once we pieced the triangles together by hand, we practices machine-sewing straight seams to piece the squares together into a block. I stupidly forgot to take pictures of the process, but I had Emily bind her quilt block, batting, and backing together with strips of scrap fabric on the sewing machine to finish her quilt potholder/tea trivet/what-have-you.


Emily had brought along a pair of adorable sailor pants she wanted to make into shorts, so we pinned them where she wanted them to fall, cut off the excess, rolled the cuffs, and I showed her how to handstitch an invisible hem, which actually takes no time at all. In about ten minutes her pants had become some seriously cute shorts.


All in all, I'd say it was a successful venture. She now has two things she can show off proudly and say she made, and she is no longer daunted by altering her clothes thanks to the invisible hem stitch.

Pin It
Related Posts Plugin for WordPress, Blogger...